Set up web in-app messaging
UpdatedWhile we call some messages in-app messages, they’re not limited to mobile apps! You can send in-app messages to your website visitors too.
How it works
While we call some messages “in-app” messages, they’re not limited to mobile apps! You can use “in-app” messages to send things like banners and modal messages that appear on your website. These are great ways to alert your users about new features, send promotions, ask for feedback using surveys, and so on.
To get set up with in-app messages, you’ll copy our JavaScript source snippet to your website.
You’ll send in-app messages using our JavaScript source snippet. If you already use our JavaScript library to identify people and track events, you’re most of the way there!
If you aren’t using our JavaScript library yet, don’t worry! It’s a simple bit of code you can copy and paste to your website. You’ll need to identify people before you can send them messages, but we’ll walk you through that process too.
website?} b-->|yes|c{Are they on the
right page?} c-->|yes|d{Are they identified?} d-->|yes|e(User sees message) b-.->|no, wait for the user to visit your site|g(User does not
see message) c-.->|no, user must be on a page matching your rules to see the message|g d-.->|no, user must be identified to see message|g
Set up your website
You’ll need to add a JavaScript snippet to your website. If you’re not a developer, don’t worry! This is a simple copy-and-paste operation, and we’ll walk you through what you need to do.
If you are a developer, check out our JavaScript SDK documentation to learn more about what you can do with our JavaScript library. You’ll need to identify people you want to send messages to, but you can also track events, listen for interactions with in-app messages, and more.
This process uses our newer Data Pipelines JavaScript snippet. See our Journeys JavaScript library instructions if you’re integrated with our classic JavaScript library and don’t want to switch. But keep in mind that our Data Pipelines JavaScript snippet supports more features and is where we’re focusing our development efforts!
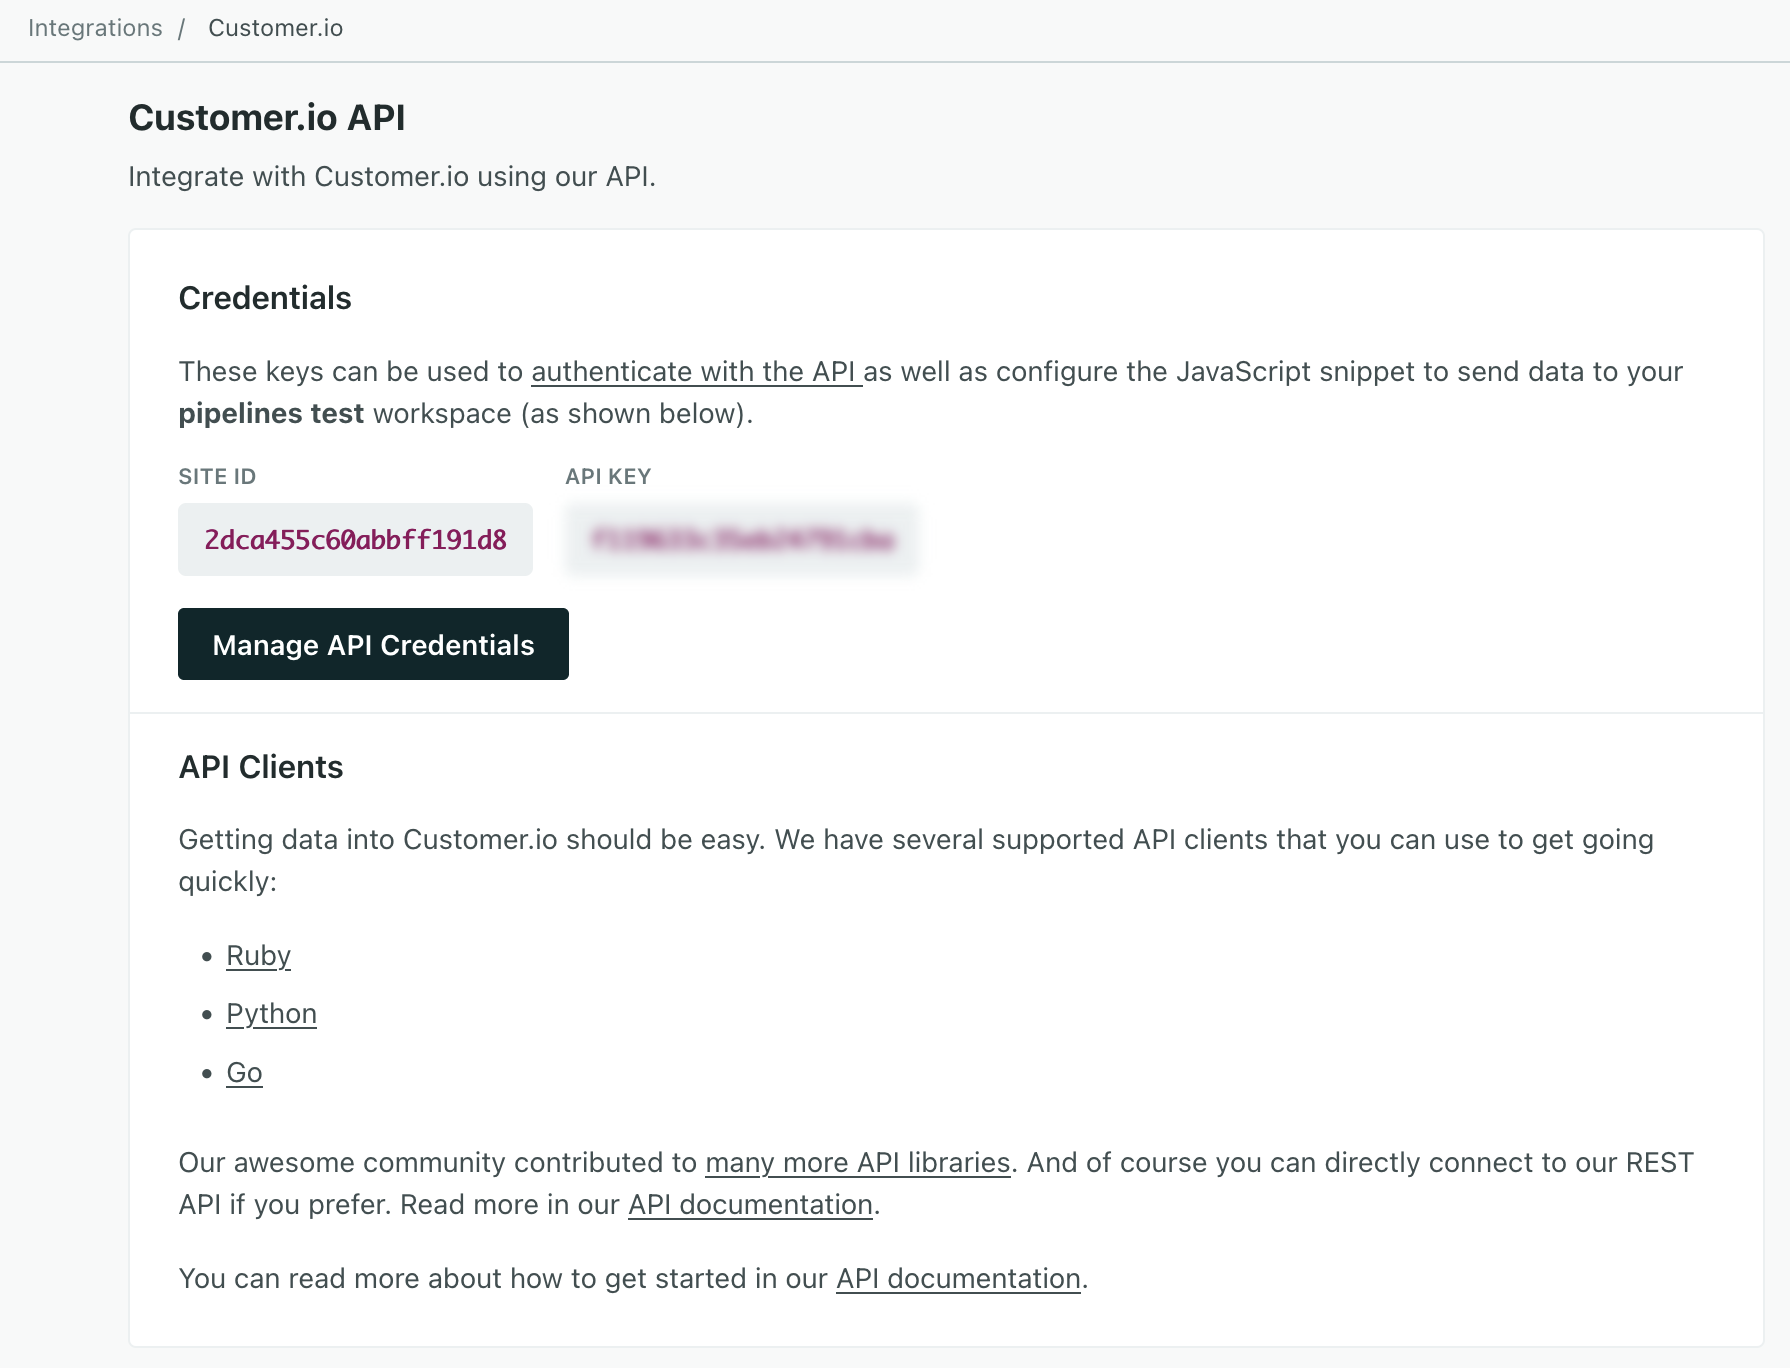
Go to Data & Integrations > Integrations > Customer.io API and copy your Site ID. You’ll need it in later steps.


Go to the Data Pipelines tab and click Sources.
Click Add Source, pick JavaScript, and click Next.
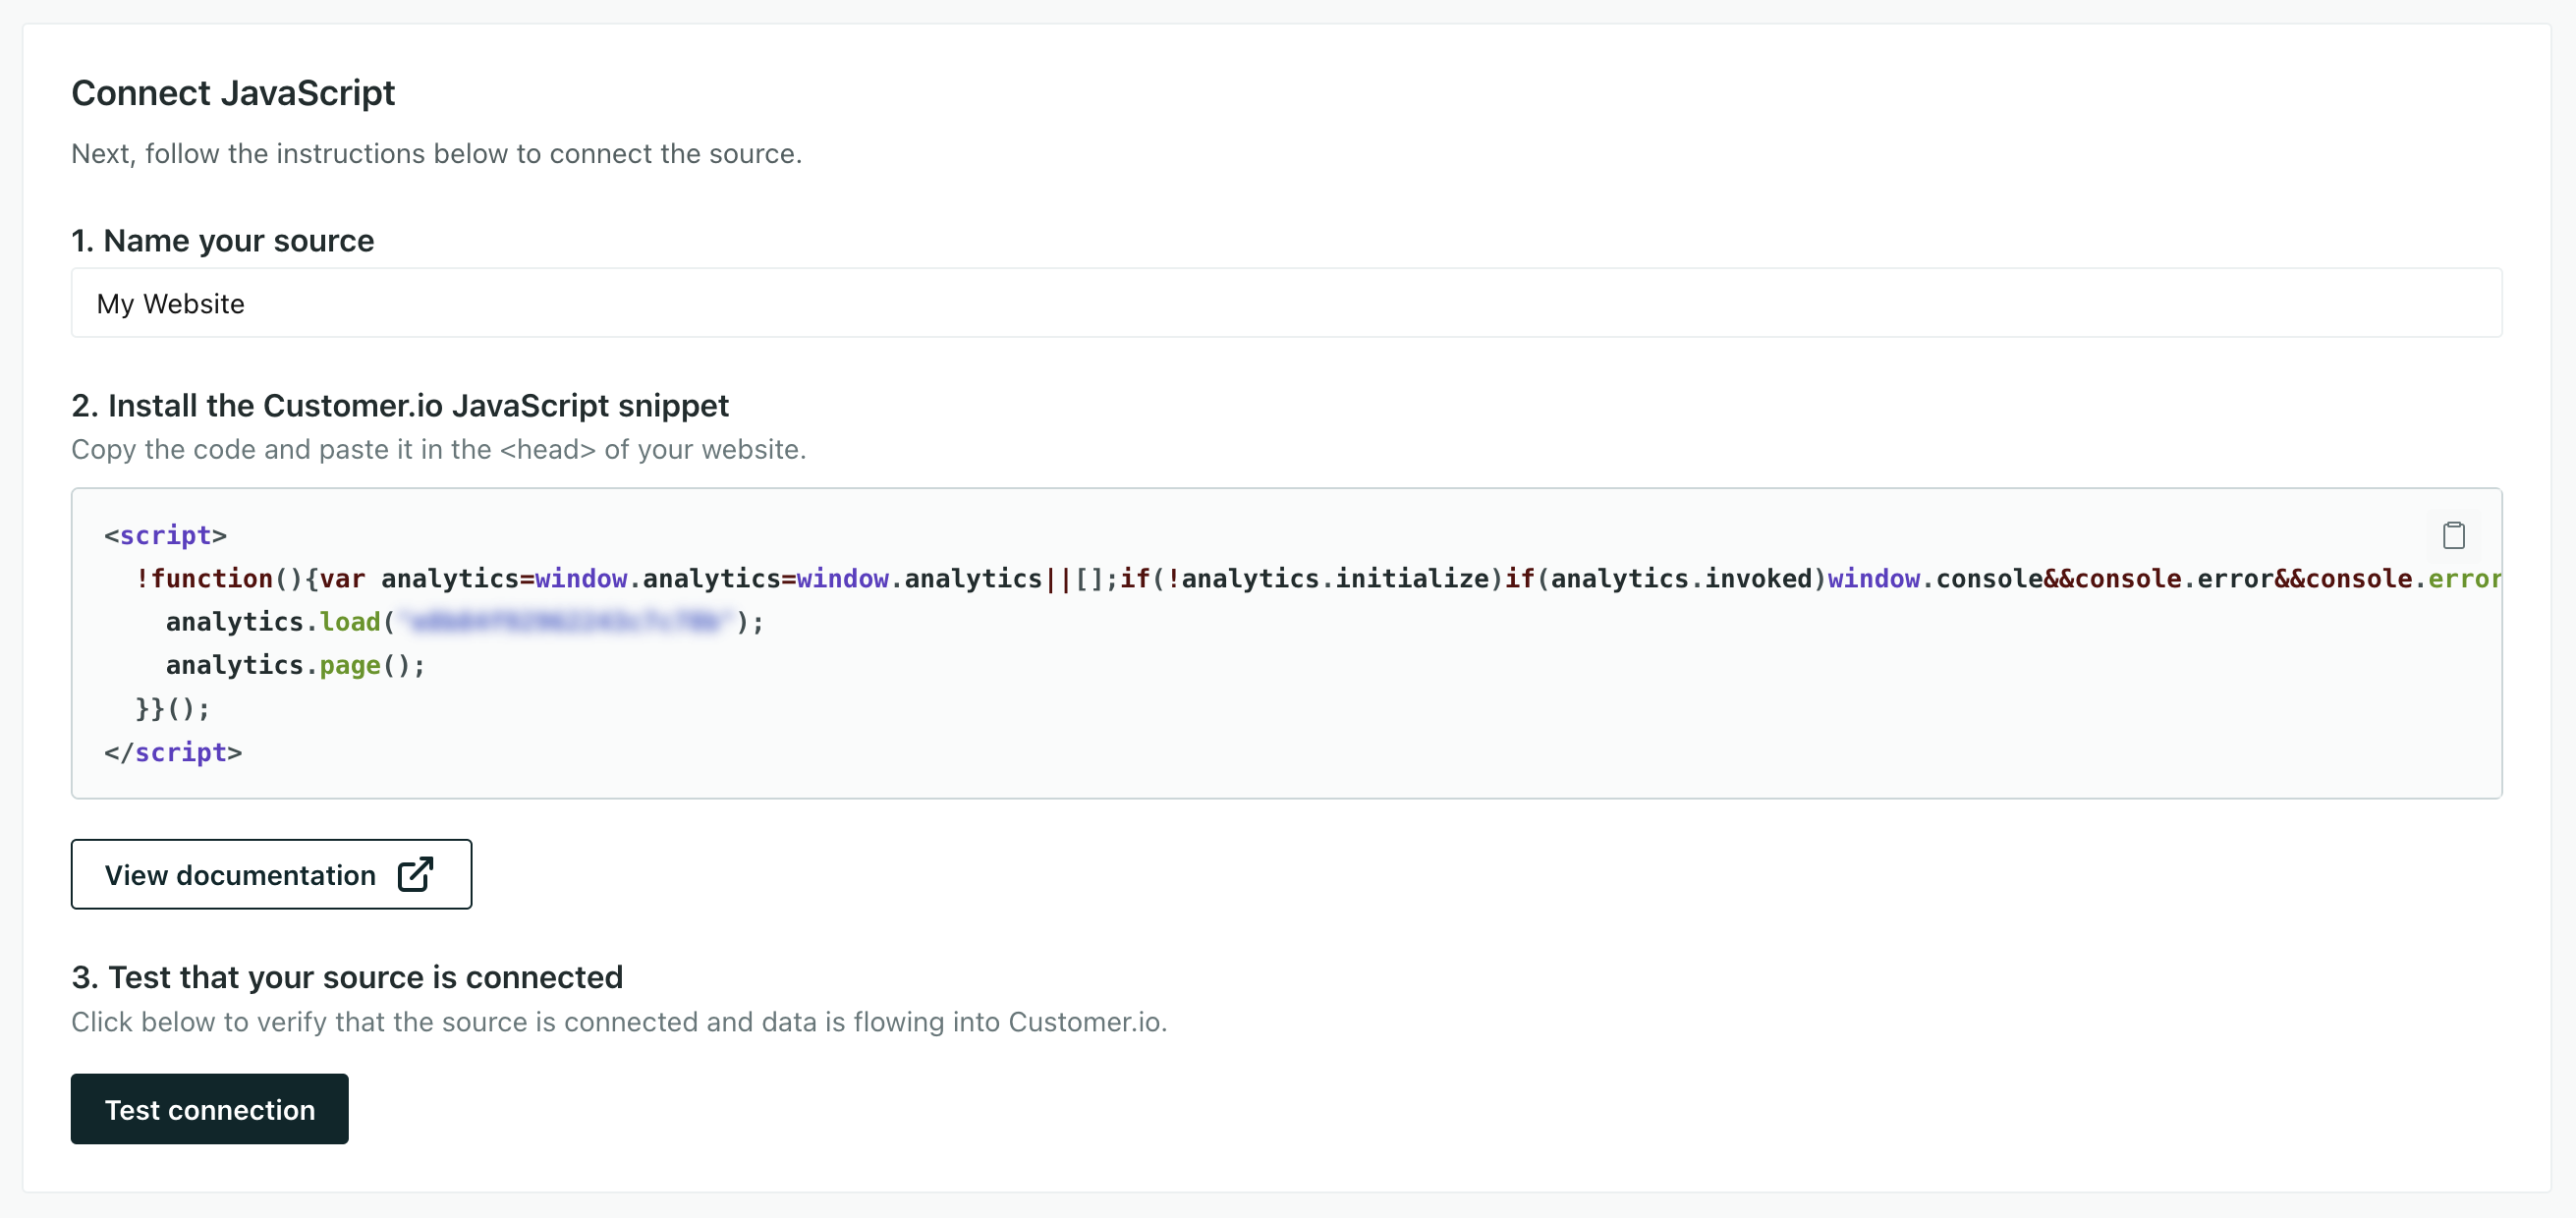
Give the source a Name. This is simply a friendly name to help you find and recognize your integration in Customer.io.


Copy the Sample Code and paste it into your website, directly below the closing
</head>tag.If you’re in our EU region, make sure that
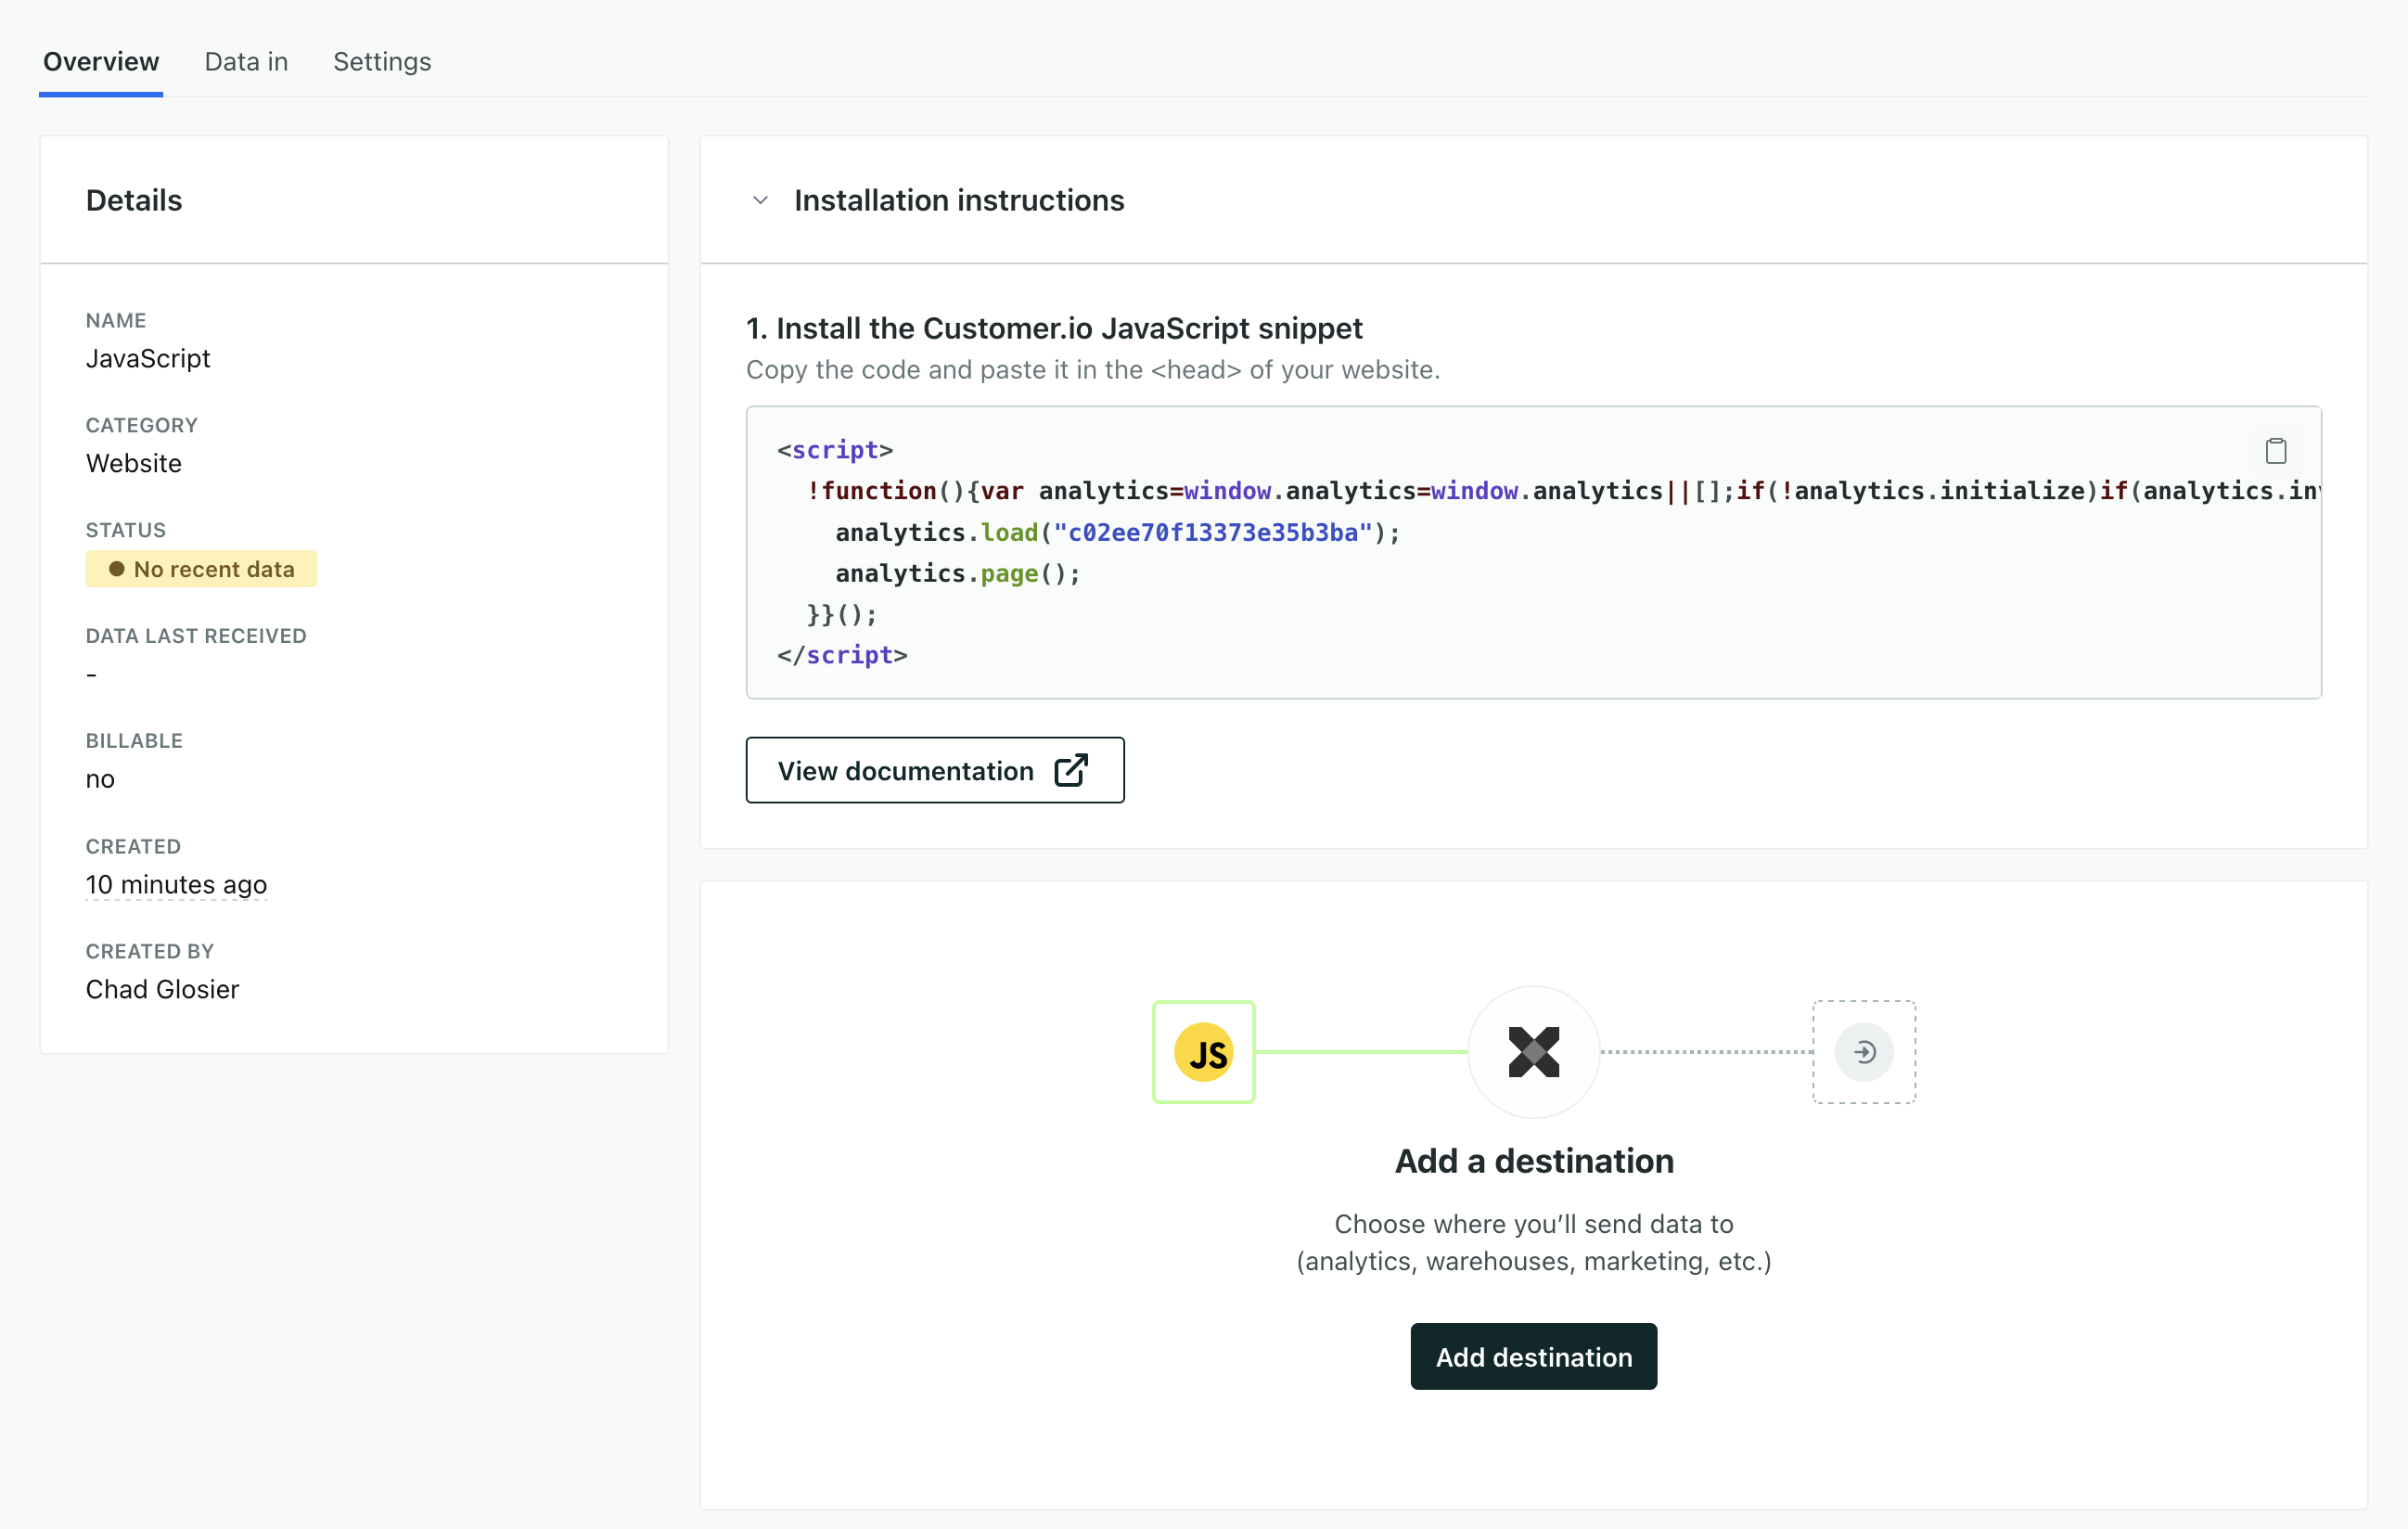
t.srccontains our EU url (https://cdp-eu.customer.io/v1/analytics-js/snippet/). Your code looks like this, though yours will have a real CDP Write Key in theanalytics.loadstatement.<script> !function(){var analytics=window.analytics=window.analytics||[];if(!analytics.initialize)if(analytics.invoked)window.console&&console.error&&console.error("Snippet included twice.");else{analytics.invoked=!0;analytics.methods=["trackSubmit","trackClick","trackLink","trackForm","pageview","identify","reset","group","track","ready","alias","debug","page","once","off","on","addSourceMiddleware","addIntegrationMiddleware","setAnonymousId","addDestinationMiddleware"];analytics.factory=function(e){return function(){var t=Array.prototype.slice.call(arguments);t.unshift(e);analytics.push(t);return analytics}};for(var e=0;e<analytics.methods.length;e++){var key=analytics.methods[e];analytics[key]=analytics.factory(key)}analytics.load=function(key,e){var t=document.createElement("script");t.type="text/javascript";t.async=!0;t.src="https://cdp.customer.io/v1/analytics-js/snippet/" + key + "/analytics.min.js";var n=document.getElementsByTagName("script")[0];n.parentNode.insertBefore(t,n);analytics._writeKey=key;analytics._loadOptions=e};analytics.SNIPPET_VERSION="4.15.3"; //You'll get this key from your JavaScript source setup //It is not the same as the API key you get alongside your site ID! analytics.load("YOUR CDP API KEY"); analytics.page(); }}(); </script>Add the highlighted lines inside the
analytics.loadstatement and paste the Site ID that you copied in the first step in thesiteIDline (where you seeYOUR JOURNEYS SITE IDbelow).<script> !function(){var analytics=window.analytics=window.analytics||[];if(!analytics.initialize)if(analytics.invoked)window.console&&console.error&&console.error("Snippet included twice.");else{analytics.invoked=!0;analytics.methods=["trackSubmit","trackClick","trackLink","trackForm","pageview","identify","reset","group","track","ready","alias","debug","page","once","off","on","addSourceMiddleware","addIntegrationMiddleware","setAnonymousId","addDestinationMiddleware"];analytics.factory=function(e){return function(){var t=Array.prototype.slice.call(arguments);t.unshift(e);analytics.push(t);return analytics}};for(var e=0;e<analytics.methods.length;e++){var key=analytics.methods[e];analytics[key]=analytics.factory(key)}analytics.load=function(key,e){var t=document.createElement("script");t.type="text/javascript";t.async=!0;t.src="https://cdp.customer.io/v1/analytics-js/snippet/" + key + "/analytics.min.js";var n=document.getElementsByTagName("script")[0];n.parentNode.insertBefore(t,n);analytics._writeKey=key;analytics._loadOptions=e};analytics.SNIPPET_VERSION="4.15.3"; analytics.load( //You'll get this key from your JavaScript source setup //It is not the same as the API key you get alongside your site ID! "YOUR CDP API KEY", // Support in-app messaging { "integrations": { "Customer.io In-App Plugin": { siteId: "YOUR JOURNEYS SITE ID" } } } ); analytics.page(); }}(); </script>Click Test Connection to make sure that everything works and click Complete Setup.
Now you’re almost ready to send in-app messages. You might want to send yourself a test message to prove your integration. Otherwise, you’ll need to identify people and send events to Customer.io to trigger your messages!
Identify your website visitors
You must identify people before you can send them messages. You can do this with the identify method.
You’ll send an identify call whenever someone logs into your website, provides their email address, or otherwise agrees to use your service.
//analytics.identify(id, attributes)
analytics.identify('f4ca124298', {
  email: 'person@example.com',
  first_name: 'Cool',
  last_name: 'Person',
  plan_name: 'premium'
  // Strongly recommended when you first identify someone
  created_at: 1339438758,   // This is the timestamp when the user
                            // first appears, in Unix format.
});
If you’re already integrated with our JavaScript snippet
In-app messaging is a plugin to our existing JavaScript integrations. If you’re already using our JavaScript snippet, you can add in-app messaging with some simple updates!
The code you add changes a little bit based on the JavaScript snippet you’re using. If you’re using our newer JavaScript source integration, you’ll need to get your siteId and copy a few lines to your existing code. If you’re using our classic JavaScript snippet, you’ll add a data-use-in-app property to your code.
In general, we recommend that you use our newer JavaScript Source snippet to take advantage of our latest features.
Go to Data & Integrations > Integrations > Customer.io API and copy your Site ID. You’ll need it in the next step.


Add the
integrationsobject inside theanalytics.loadstatement and paste the Site ID that you copied in the first step in thesiteIDline (where you seeYOUR JOURNEYS SITE IDbelow).
<script>
!function(){var analytics=window.analytics=window.analytics||[];if(!analytics.initialize)if(analytics.invoked)window.console&&console.error&&console.error("Snippet included twice.");else{analytics.invoked=!0;analytics.methods=["trackSubmit","trackClick","trackLink","trackForm","pageview","identify","reset","group","track","ready","alias","debug","page","once","off","on","addSourceMiddleware","addIntegrationMiddleware","setAnonymousId","addDestinationMiddleware"];analytics.factory=function(e){return function(){var t=Array.prototype.slice.call(arguments);t.unshift(e);analytics.push(t);return analytics}};for(var e=0;e<analytics.methods.length;e++){var key=analytics.methods[e];analytics[key]=analytics.factory(key)}analytics.load=function(key,e){var t=document.createElement("script");t.type="text/javascript";t.async=!0;t.src="https://cdp.customer.io/v1/analytics-js/snippet/" + key + "/analytics.min.js";var n=document.getElementsByTagName("script")[0];n.parentNode.insertBefore(t,n);analytics._writeKey=key;analytics._loadOptions=e};analytics.SNIPPET_VERSION="4.15.3";
analytics.load(
"YOUR CDP API KEY",
// Support in-app messaging
{
  "integrations": {
    "Customer.io In-App Plugin": {
      siteId: "YOUR JOURNEYS SITE ID"
    }
  }
}
);
analytics.page();
}}();
</script>If you’re already integrated with our Journeys JavaScript snippet, you can enable in-app by adding the data-use-in-app property to your code, highlighted in the sample below.
See our Journeys JavaScript documentation to learn more about what you can do with this JavaScript snippet, including listening for interactions with in-app messages.
<script type="text/javascript">
  var _cio = _cio || [];
  (function() {
    var a,b,c;a=function(f){return function(){_cio.push([f].
    concat(Array.prototype.slice.call(arguments,0)))}};b=["load","identify",
    "sidentify","track","page","on","off"];for(c=0;c<b.length;c++){_cio[b[c]]=a(b[c])};
    var t = document.createElement('script'),
        s = document.getElementsByTagName('script')[0];
    t.async = true;
    t.id    = 'cio-tracker';
    t.setAttribute('data-site-id', 'YOUR_SITE_ID');
    t.setAttribute('data-use-array-params', 'true');
    t.setAttribute('data-use-in-app', 'true');
    t.src = 'https://assets.customer.io/assets/track.js';
    //If your account is in the EU, use:
    //t.src = 'https://assets.customer.io/assets/track-eu.js'
    s.parentNode.insertBefore(t, s);
  })();
</script>


