Email code editor
UpdatedIf you’re comfortable writing your own HTML, our code editor can help you draft better emails with syntax autocomplete, responsive previews, and developer tools to help you debug your message.
How it works
When you create an email, you can pick the Code option to write your own HTML. Our code editor is powered by Parcel, and contains features that can help you build messages that support your entire audience.
There’s a lot going on in the code editor, so you can show and hide the pieces of the editor as you need them. No matter what you hide, you’ll always see your code and the corresponding preview.
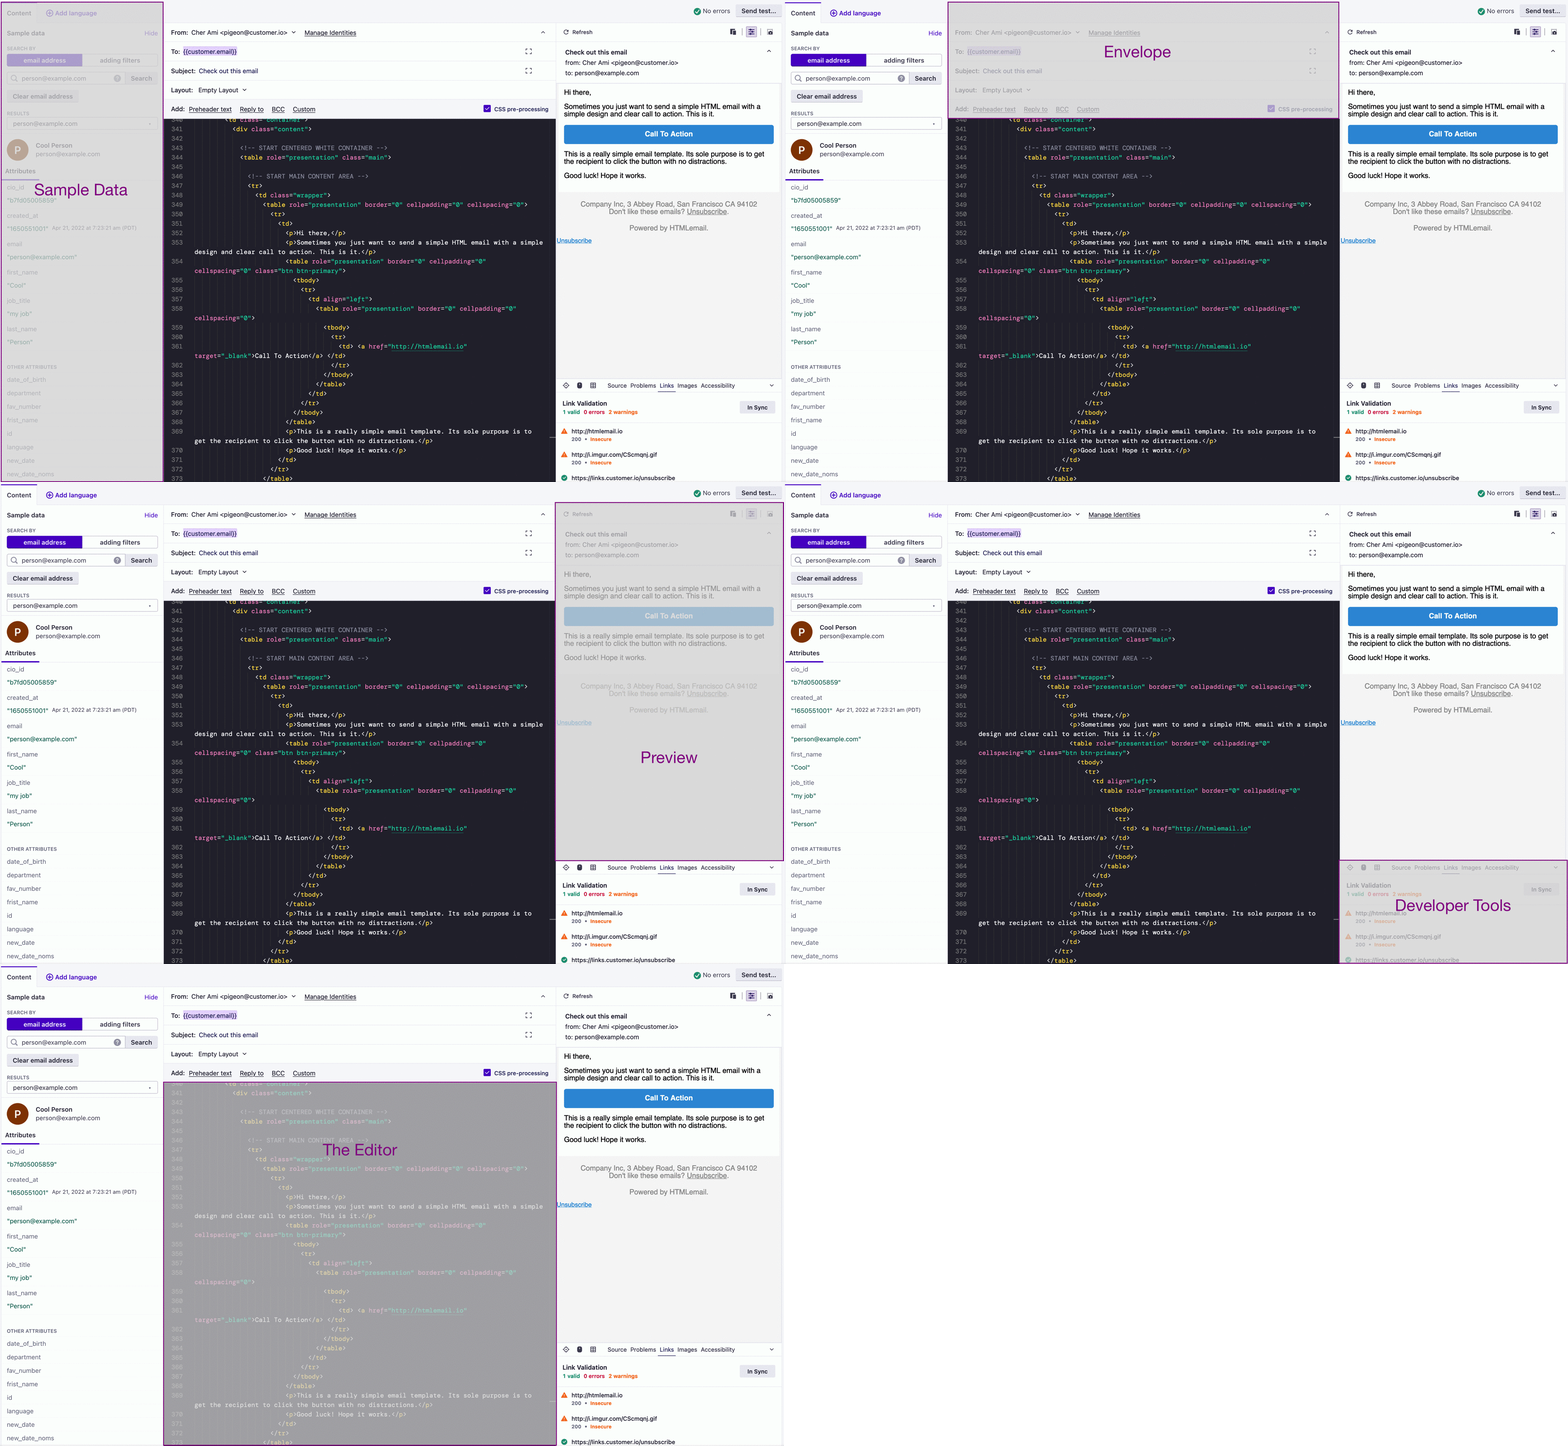
- Sample Data: shows a representative person and their data, so you know which attributesA key-value pair that you associate with a person or an object—like a person’s name, the date they were created in your workspace, or a company’s billing date etc. Use attributes to target people and personalize messages. Attributes are analogous to traits in Data Pipelines. and event data are available to your message in liquidA syntax that supports variables, letting you personalize messages for your audience. For example, if you want to reference a person’s first name, you might use the variable
{{customer.first_name}}.. - The Envelope contains your message’s To, From, Subject, and other fields determining how you want to handle your message.
- The Preview shows your rendered HTML or AMP components.
- Developer tools are features that can help you proof and test your email’s links, images, and accessibility.
- The Editor is where you write your email. It contains a number of helpful features, like code auto-complete and you can hover over tags to see Can I Email’s assessment of email client support for different elements. You can switch between tabs for writing HTML exclusively and AMP.
Controlling the preview
By default, the preview shows what your message will look like given the space available in your browser. You can use the controls in the upper-right of the preview to see what your message will look like in other sizes, color schemes, or for people with visual impairments.
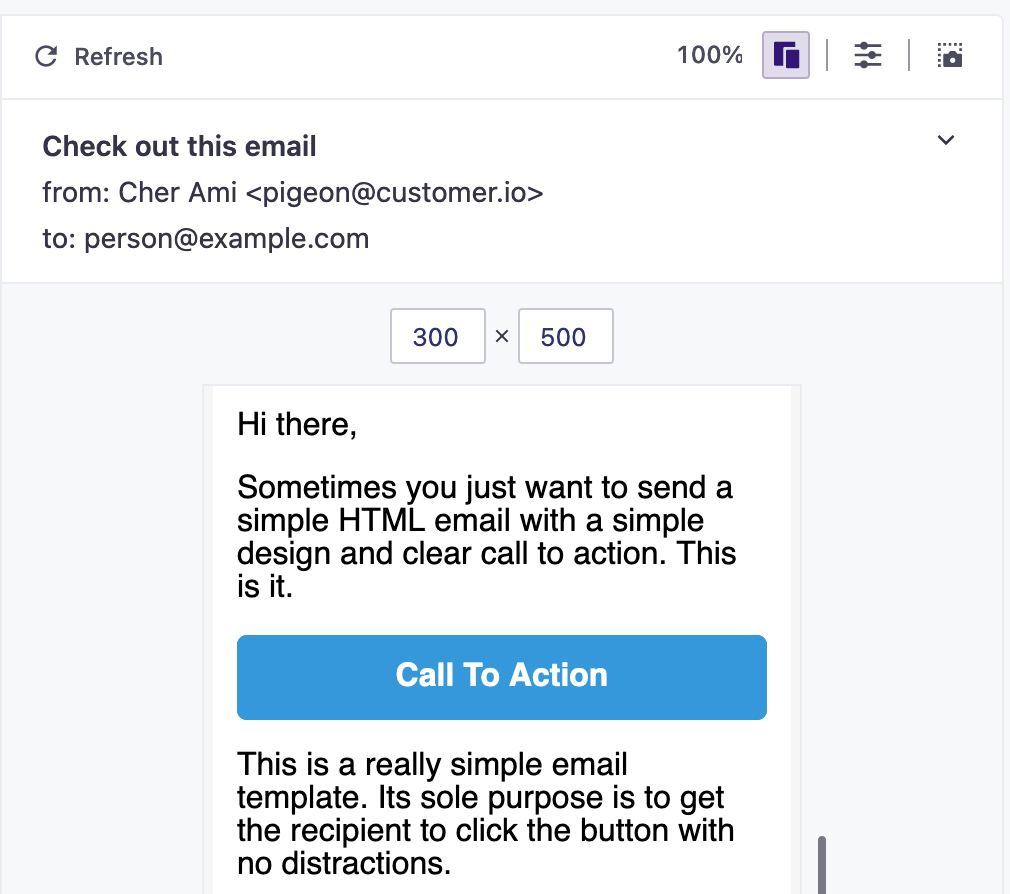
Change email size and test responsiveness
Click to preview your message at different heights, widths, and make sure that your email is responsive on devices of all sizes.

Toggle light mode or dark mode
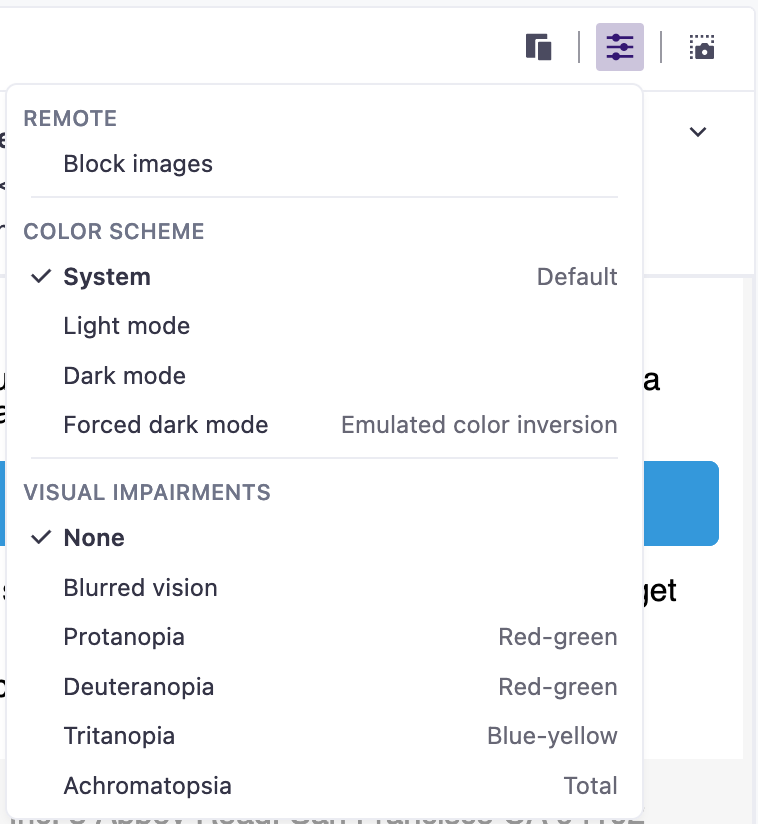
Click to test your message in light mode, dark mode, and with common visual impairments to make sure that it will work for everybody in your audience.
When you test dark mode, you’ll see a few options. Light mode and Dark mode affect prefers-color-scheme: dark/light settings.
Forced dark mode emulates color inversion that email clients do. Some email clients—including Outlook and Gmail—will find areas of your email with dark text and light background and flip them to match the user’s Dark Mode preference. We don’t have full control over these cases, so it’s always a good idea to test your images and colors.

Test your message for people with visual impairments
You can simulate a variety of visual impairments to help you design inclusive emails and support your entire audience. Click to enable or disable visual impairment settings.
You can only apply one filter at a time at a time.
Developer tools
The Developer tools panel, in the bottom-right of the editor—contains features that can help you work more efficiently and debug your messages.
Inspect element mode
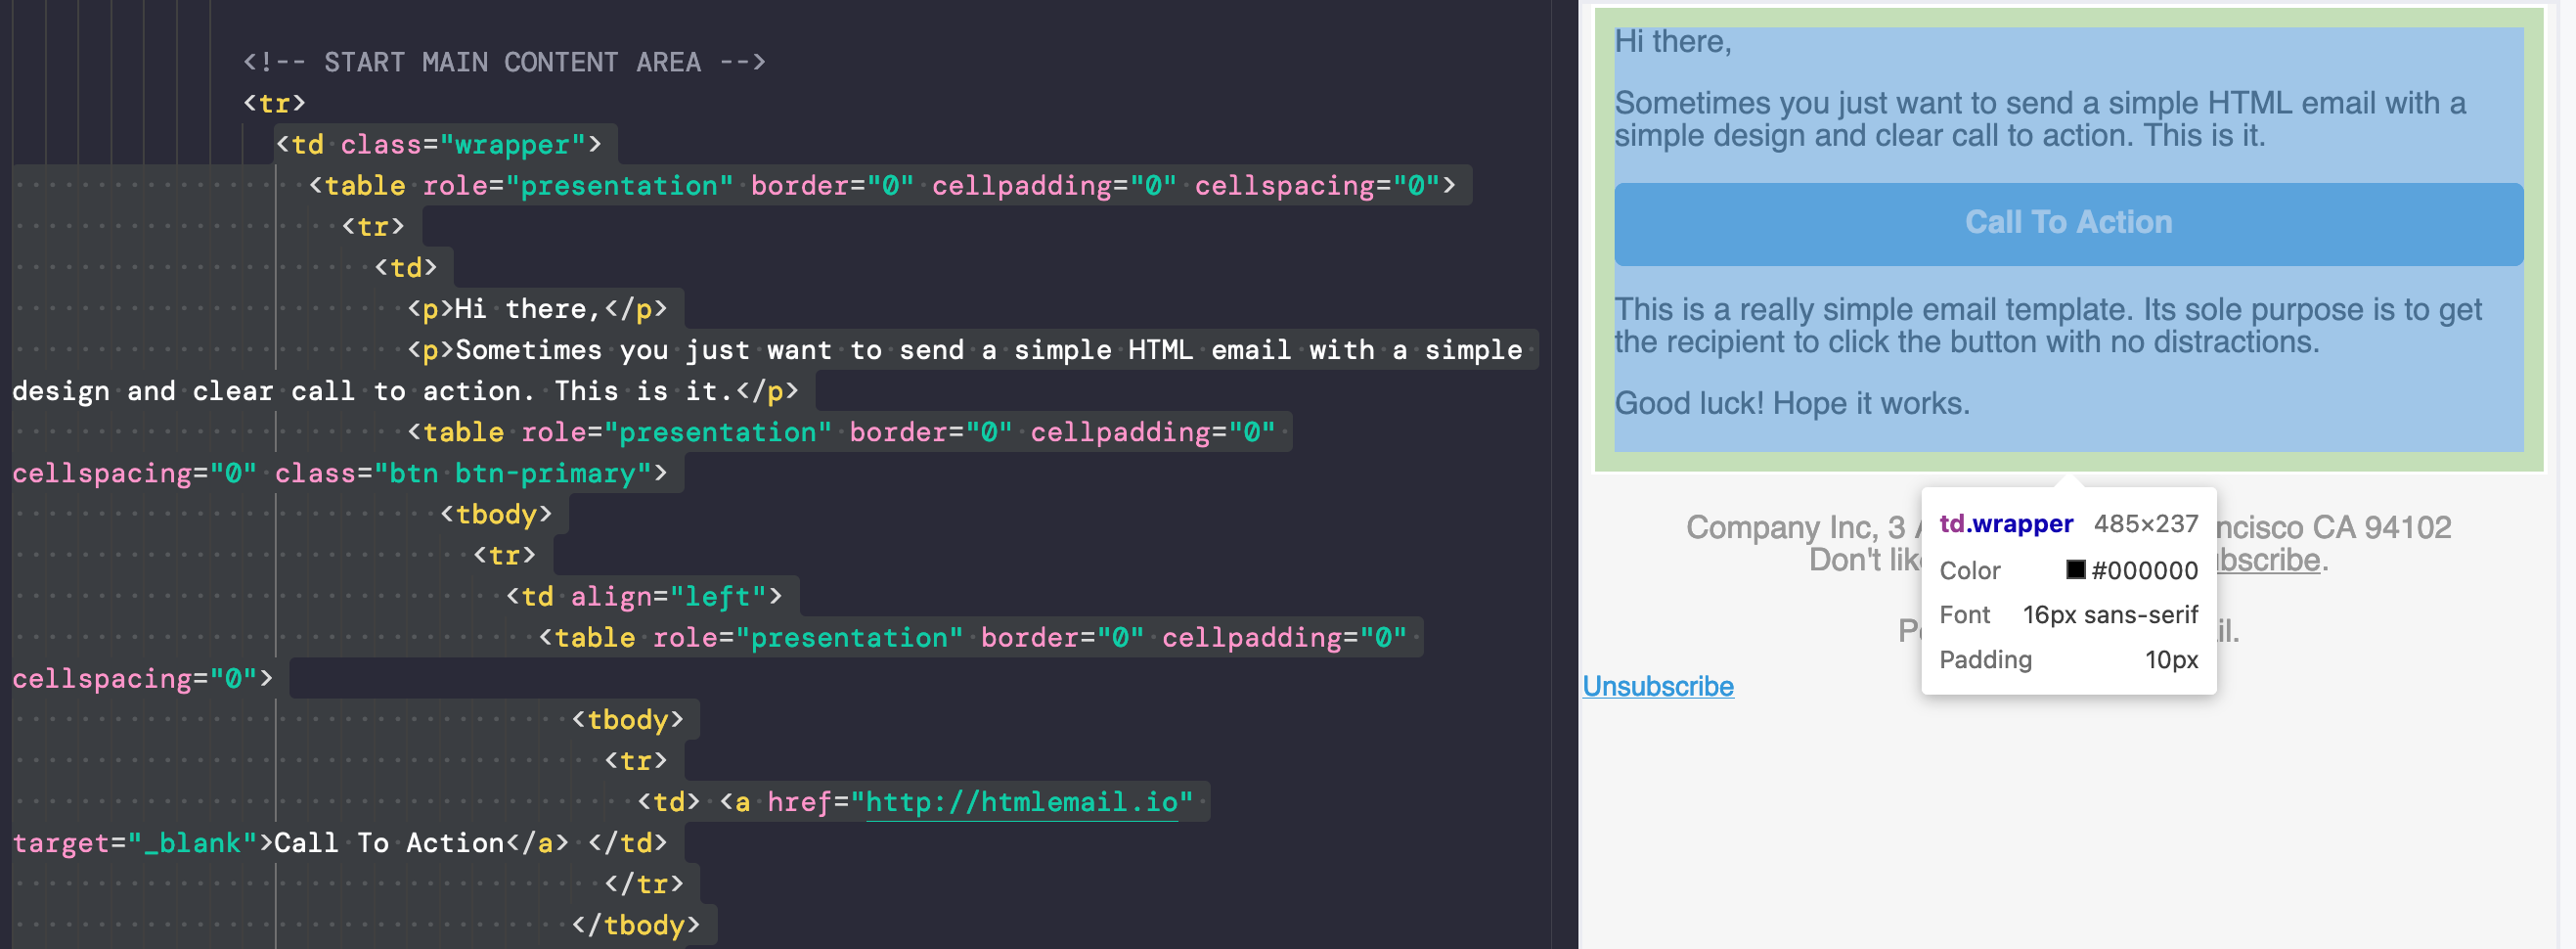
The Inspect Element tool helps you find HTML code when you click elements in the preview. Click to enable Inspect Element mode.
Hover over any element in the preview to see more information about it. When you’ve found the element you want, click it to go to that section of your code.
You can also enable or disable this mode with keyboard shortcuts:
- Mac:
CMD SHIFT C - Windows:
CTRL SHIFT C

Focus mode
Focus Mode aligns the preview with the code you’re working on, so you can preview changes to your message in real time. Click to enable Focus Mode.
As you navigate to different sections of your code, the preview jumps to the matching location and outlines the relevant element.
You can also enable or disable this mode with keyboard shortcuts:
- Mac:
CMD SHIFT M - Windows:
CTRL SHIFT M
Expanded table view
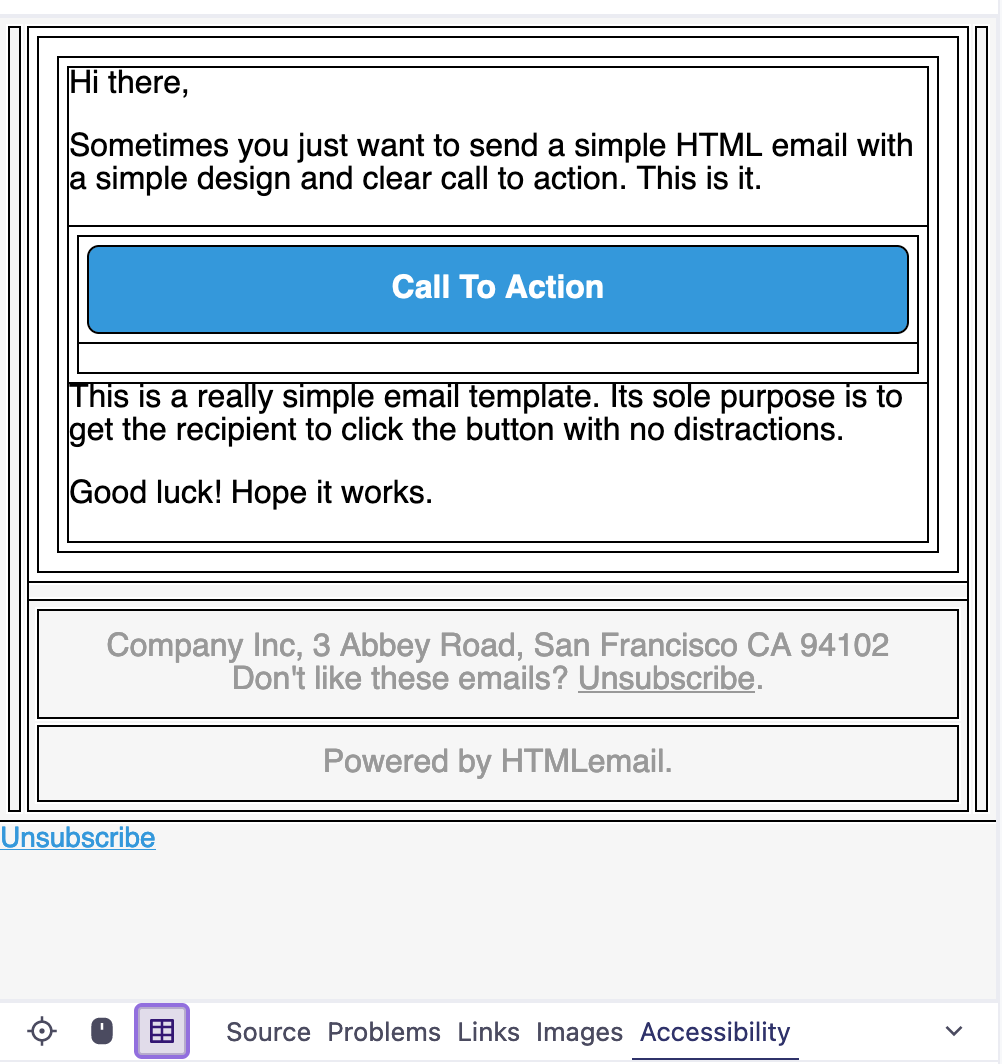
Tables are one of the main ways you’ll organize content in an email. Expanded table view highlights table/cell borders in the Preview to help you identify table-based layout issues. Click to toggle expanded table view.

Problem checker
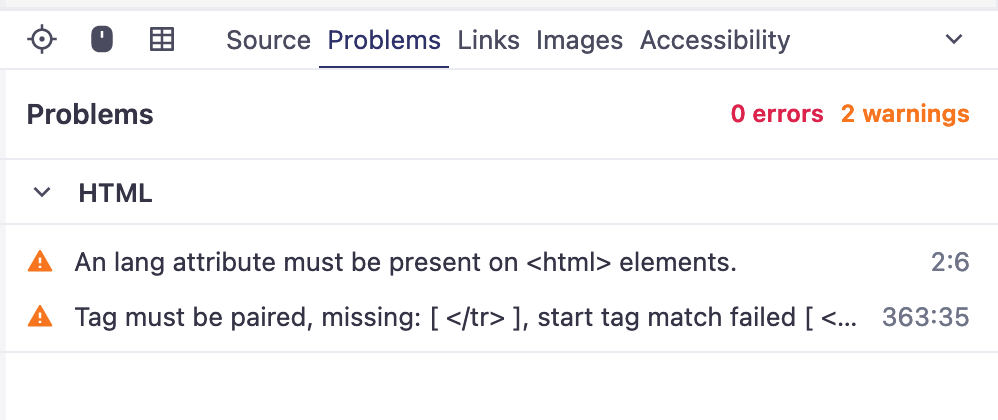
Writing code is hard! The problem checker analyzes your code and highlights bugs or mistakes. You’ll find it in the Problems tab in the bottom right corner. Click any problem to go to the affected code.

Link validation
Link validation checks that links in your message work properly and go to the right pages. Click Links in the bottom right corner to open the link validator and click Validate to run a check.
We’ll attempt to connect to each link in your code and tell you if the connection is secure and successful. If the button in the top-right of the checker says In Sync, the validation results match the code. If you make code changes, you can click Refresh to run the validator again.
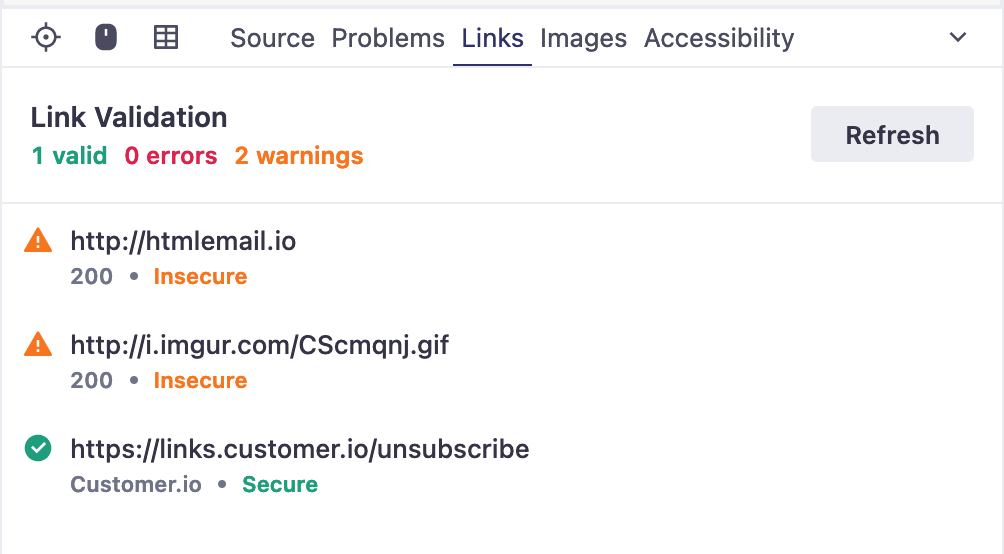

Image validation
Our image validator checks that all your images are secure, optimized, and load properly. Click Images in the bottom-right to open the image validator.
We’ll attempt to load the images in your code. If the button in the top-right says In Sync, then the validation results match the code. If you make code changes, you can Refresh to run the validator check again.
Accessibility checker
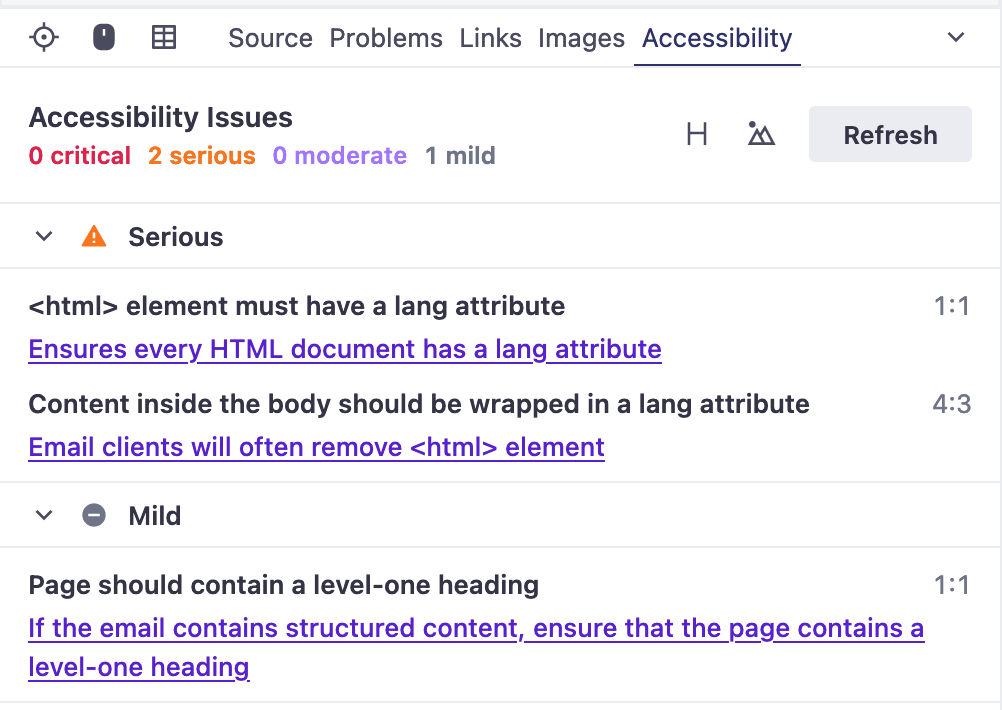
The code editor uses Deque University’s Accessibility rules so you can easily evaluate your email for accessibility issues and best practices.
Go to the Accessibility tab to make sure that your message is accessible to all readers. Depending on the size of your email, the checker may take a moment to complete. The checker returns a list sorted by severity (Critical, Serious, Moderate, Mild). Click an issue to jump to the relevant line of code. Many of the issues include a link on the second line with more information about the issue.
